

Introduction
Scoring a used electric dirt bike can save you a bundle, but it also comes with heavy financial risks. Unlike traditional gas bikes, an e-moto relies completely on an expensive lithium-ion battery pack and a delicate computer system.
Skip checking the battery health or motor controller before handing over your cash, and you could easily face a massive repair bill just a week into your ownership.
This guide delivers a straightforward, step-by-step inspection checklist designed to help you evaluate secondhand e-motos safely and dodge costly scams.
Why the Used Electric Dirt Bike Market is Booming
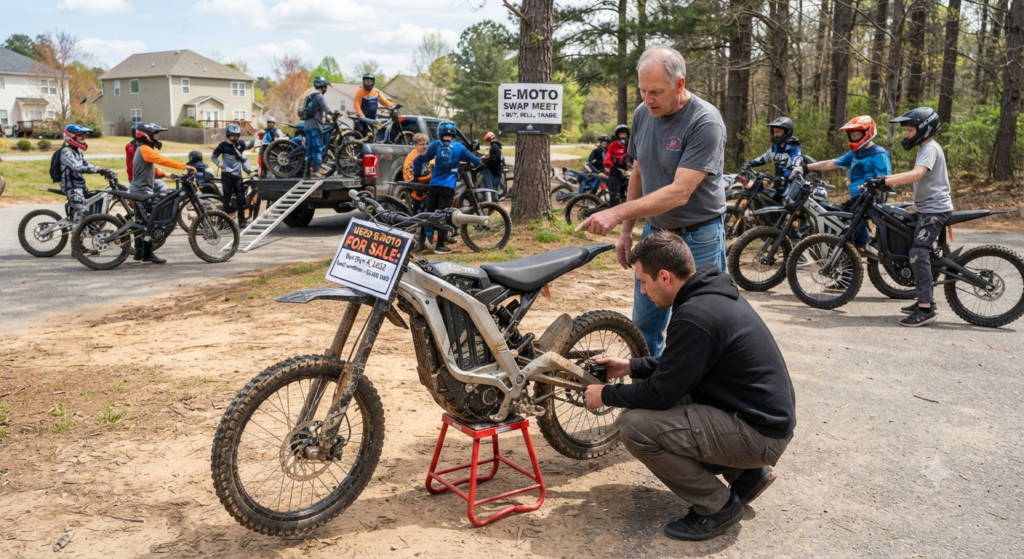
Electric dirt bikes like the Sur-Ron, Talaria, and Stark Varg are dominating local trails, tracks, and neighborhoods. Because brand-new models often cost anywhere from $4,000 to over $12,000, many riders hit the used market to hunt for a deal.
The catch? Buying used means you inherit someone else’s maintenance habits, past crashes, and hidden neglect. A solid inspection checklist protects your wallet and gives you real bargaining power.
Step 1: The Golden Rule It Is All About the Battery
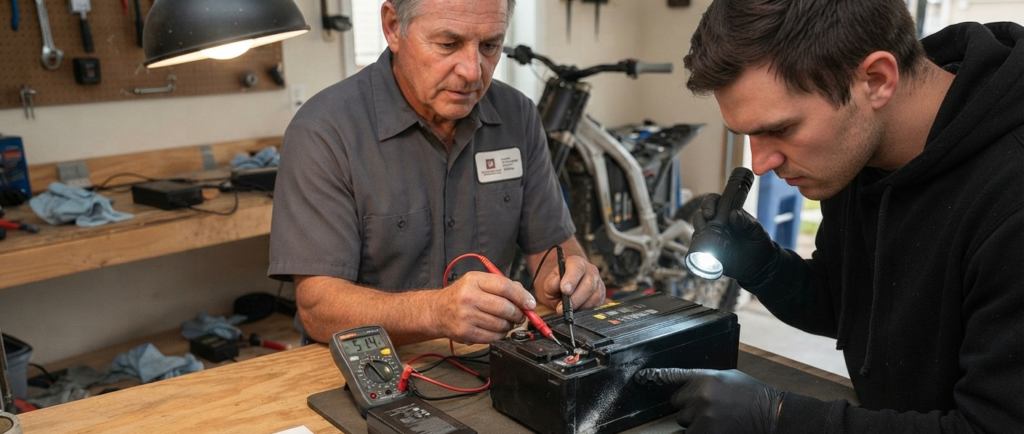
The battery is the single most expensive part of an electric dirt bike, usually making up nearly half of its overall value.
- Never trust blind promises:
Don’t take a seller’s word that “the battery is fine” without seeing proof. - Inspect the casing:
Look closely for physical swelling, deep impact cracks, or loose mounting rails that let water inside. - Ask about cycles:
Inquire how many charge cycles the pack has endured and what kind of real-world range they get under hard throttle. - Watch for corrosion:
Check the battery terminals and bottom seals. White or green powdery corrosion means moisture leaked inside during past washes or wet rides. - Verify the charger:
Ensure the seller includes the original factory charger. Mismatched aftermarket chargers can fry individual cell health and create a severe fire hazard.
Step 2: Frame, Headtube, and Suspension Inspection
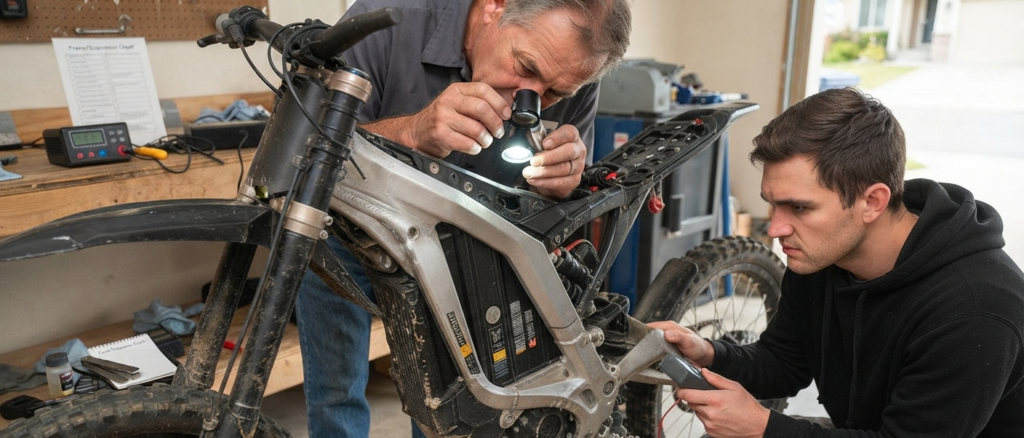
Electric dirt bikes handle uniquely due to their lightweight aluminum frames and distinct weight distribution.
- Scan the welds:
Walk around the bike and inspect the aluminum frame welds especially near the foot pegs, swingarm pivot, and steering head tube for hairline cracks or stress marks. These micro-fractures usually mean the bike was heavily crashed or jumped beyond its limits. - Check for leaks:
Inspect the front inverted forks and rear shock absorber for oil leaks. Run your hand down the fork tubes to feel for dirt buildup or oily residue signaling blown fork seals. - Test swingarm play:
Lift the rear wheel off the ground and wiggle it side to side to check for sloppy bearing play that ruins high-speed handling.
Step 3: Powertrain, Motor, and Controller Health
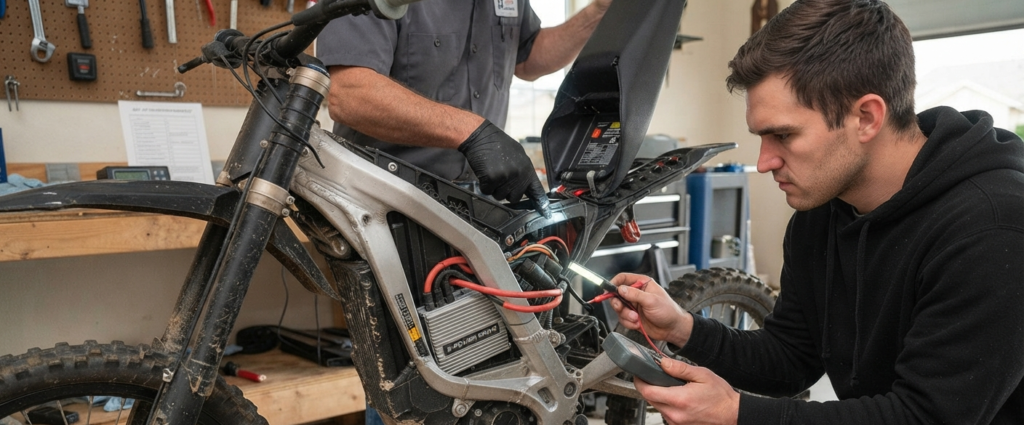
- Boot up the electronics:
Turn on the display and verify the system boots up normally without flashing hidden error codes or warning lights. - Listen to the motor:
During a slow test ride, listen closely to the brushless motor. You want a smooth, quiet whirring sound not a grinding, clicking, or rattling noise that points to damaged internal gears or bearings. - Inspect the controller:
Ask if the motor controller is stock or upgraded. Unverified firmware flashes or cheap aftermarket controllers can pull too many amps, causing the stock wiring harness to melt under heavy load. - Test throttle response:
Check throttle latency and ensure regenerative braking kicks in smoothly the moment you let off the twist grip.
Step 4: Brakes, Tires, and Drivetrain Check
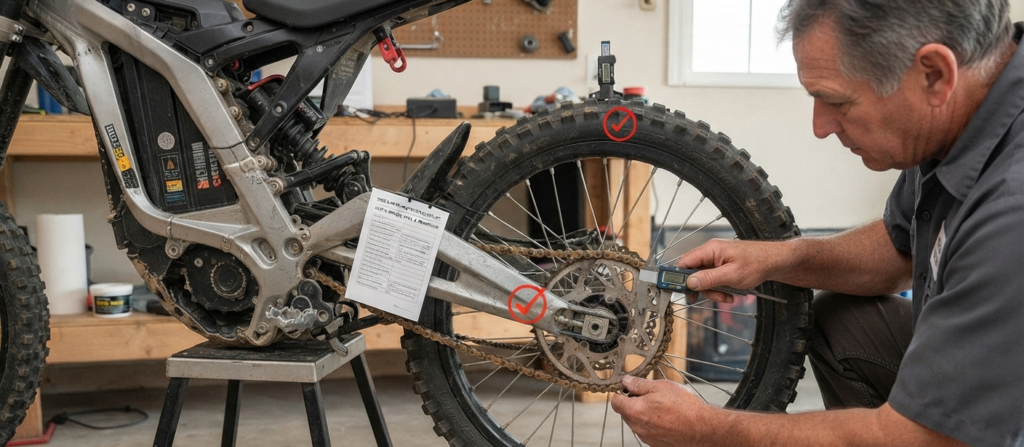
Instant torque from zero RPM puts massive, sudden stress on the entire drivetrain and braking setup.
- Check the brakes:
Inspect hydraulic brake pads for thickness and ensure the metal rotors aren’t warped, scored, or thinned past safe limits. - Inspect the wheels:
Spin both wheels to make sure the rims are true and loose spokes aren’t causing a visible high-speed wobble. - Examine the drive:
Check the primary drive chain or belt for correct tension, and look at the rear sprocket teeth to see if they’re hooked or worn down to sharp points.
Step 5: Paperwork, Serial Numbers, and Legalities
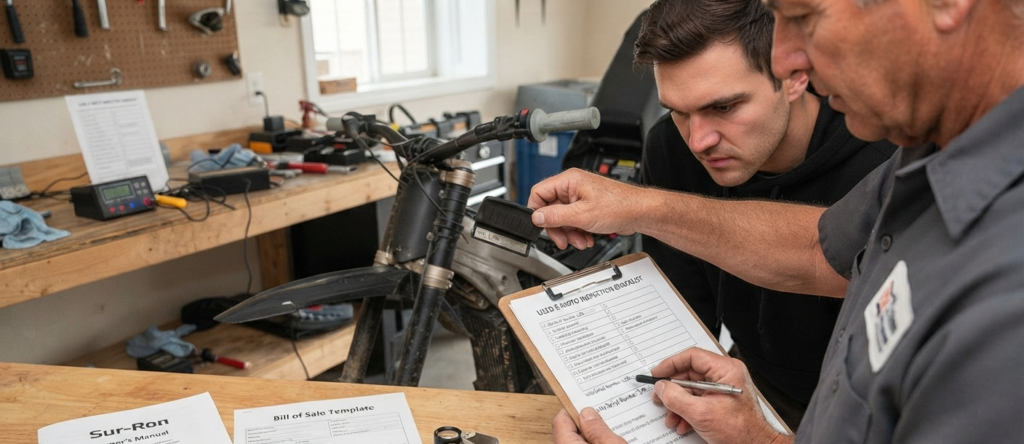
- Trace the history:
Ask for proof of purchase, an original online order confirmation, or a physical dealer receipt. - Match the numbers:
Compare the frame serial number stamped into the metal headtube with the paperwork provided. If the serial number is scratched off, painted over, or missing entirely, walk away it’s likely a stolen bike. - Draft a bill of sale:
Always write up a formal bill of sale featuring both signatures, the purchase price, and the unique serial number to lock in your legal ownership rights.
Conclusion
Buying a used electric dirt bike doesn’t have to be a stressful gamble. By prioritizing battery health, checking for frame cracks, verifying electronic components, and confirming the paperwork is clean, you can land a reliable e-moto at a fraction of the retail cost. Take your time, test every single function, and never hesitate to walk away if a deal feels sketchy.